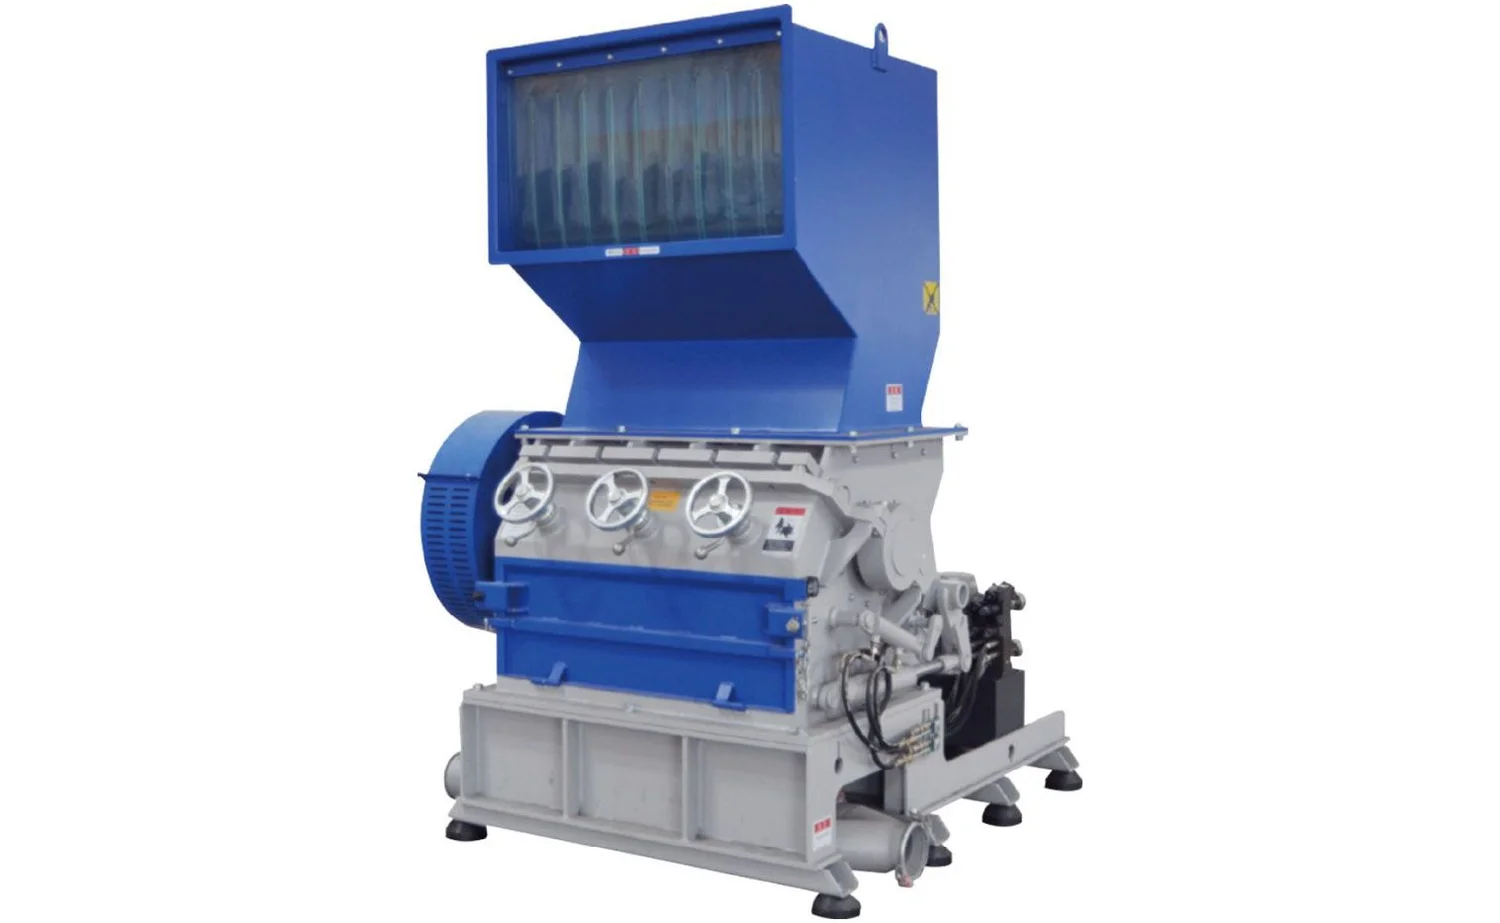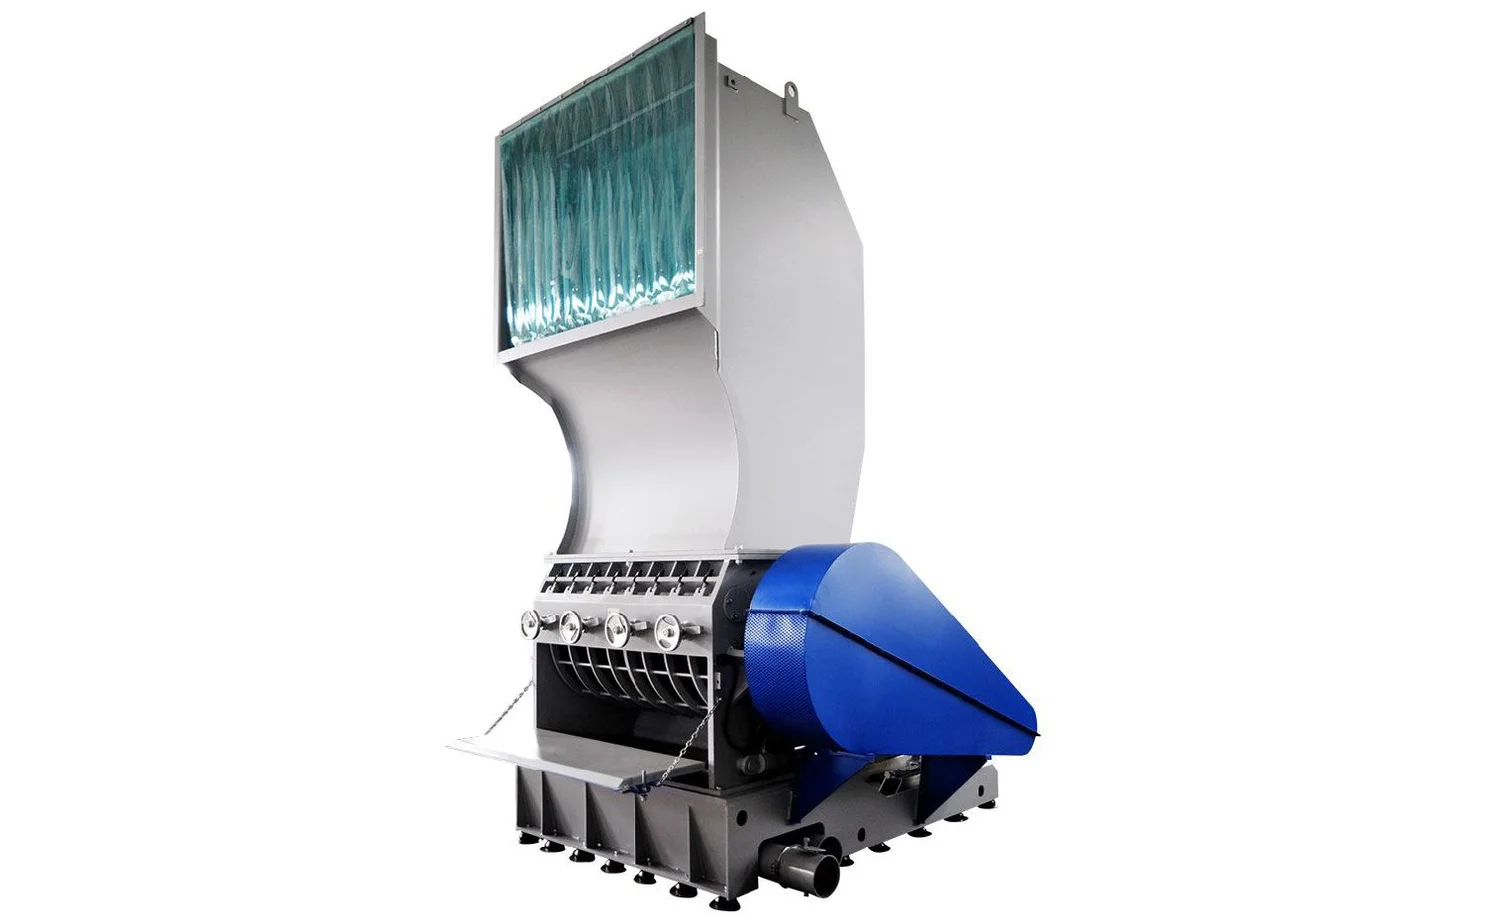
A new shredder or granulator is easiest to ruin in its first few hours: skipped guarding checks, a rushed first feed, a break-in nobody did. Here is a practical commissioning checklist that protects the machine and the operator from day one.
The failures that stop a line are almost never surprises. They are the predictable result of something skipped earlier, and the earliest place to skip something is commissioning. Get the first day right and the machine settles into a long, boring, productive life. Rush it, and you inherit avoidable wear, nuisance trips, and safety exposure.
This is a general-purpose checklist for bringing a new size-reduction machine online. It is not a substitute for the specific instructions in your machine’s manual; always follow those. Think of this as the shape of a good commissioning, phase by phase.
Level and anchor. Confirm the machine sits level on a rated foundation and is anchored per the manual. Vibration from a poor mount shortens bearing life.
Clearance and access. Leave room for hopper loading, screen changes, and service access before you commit the position.
Electrical. Verify supply voltage, phase, and overload settings match the nameplate. Confirm rotation direction before loading any material.
Downstream connections. Conveyors, blowers, and evacuation lined up and clear so regrind has somewhere to go from the first cut.
Emergency stops. Test every e-stop and confirm it actually cuts power to the rotor. This is the first thing to verify, not the last.
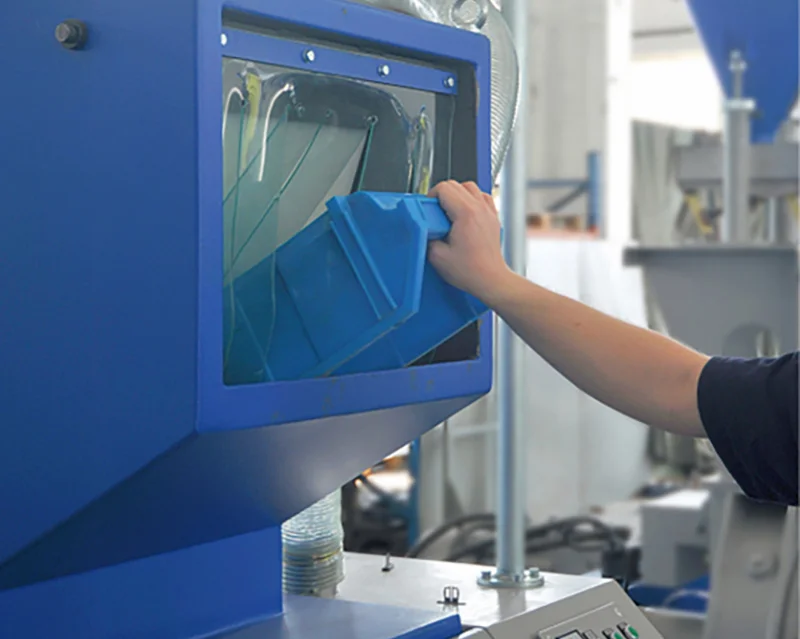
Interlocked guards and hoppers. Confirm interlocks stop the machine when a guard or hopper is opened, and that the rotor cannot be reached while turning. Remember that a granulator rotor can take up to three minutes to coast to a full stop after power is cut, so never rely on the rotor having stopped just because the motor is off.
Overload and auto-reverse. Confirm overload protection and, where fitted, auto-reverse that clears a jam are functioning.
Lockout/tagout. Establish and post the LOTO procedure before anyone opens the machine for the first screen or knife check. In the United States this is not optional: OSHA’s control-of-hazardous-energy standard (29 CFR 1910.147) requires a documented, machine-specific procedure, and Canadian operations fall under comparable provincial rules.
Knife gap and torque. Verify rotor and stator knife clearances and that all fasteners are torqued to the manual’s values. A loose or mis-gapped knife is an early-failure waiting to happen.
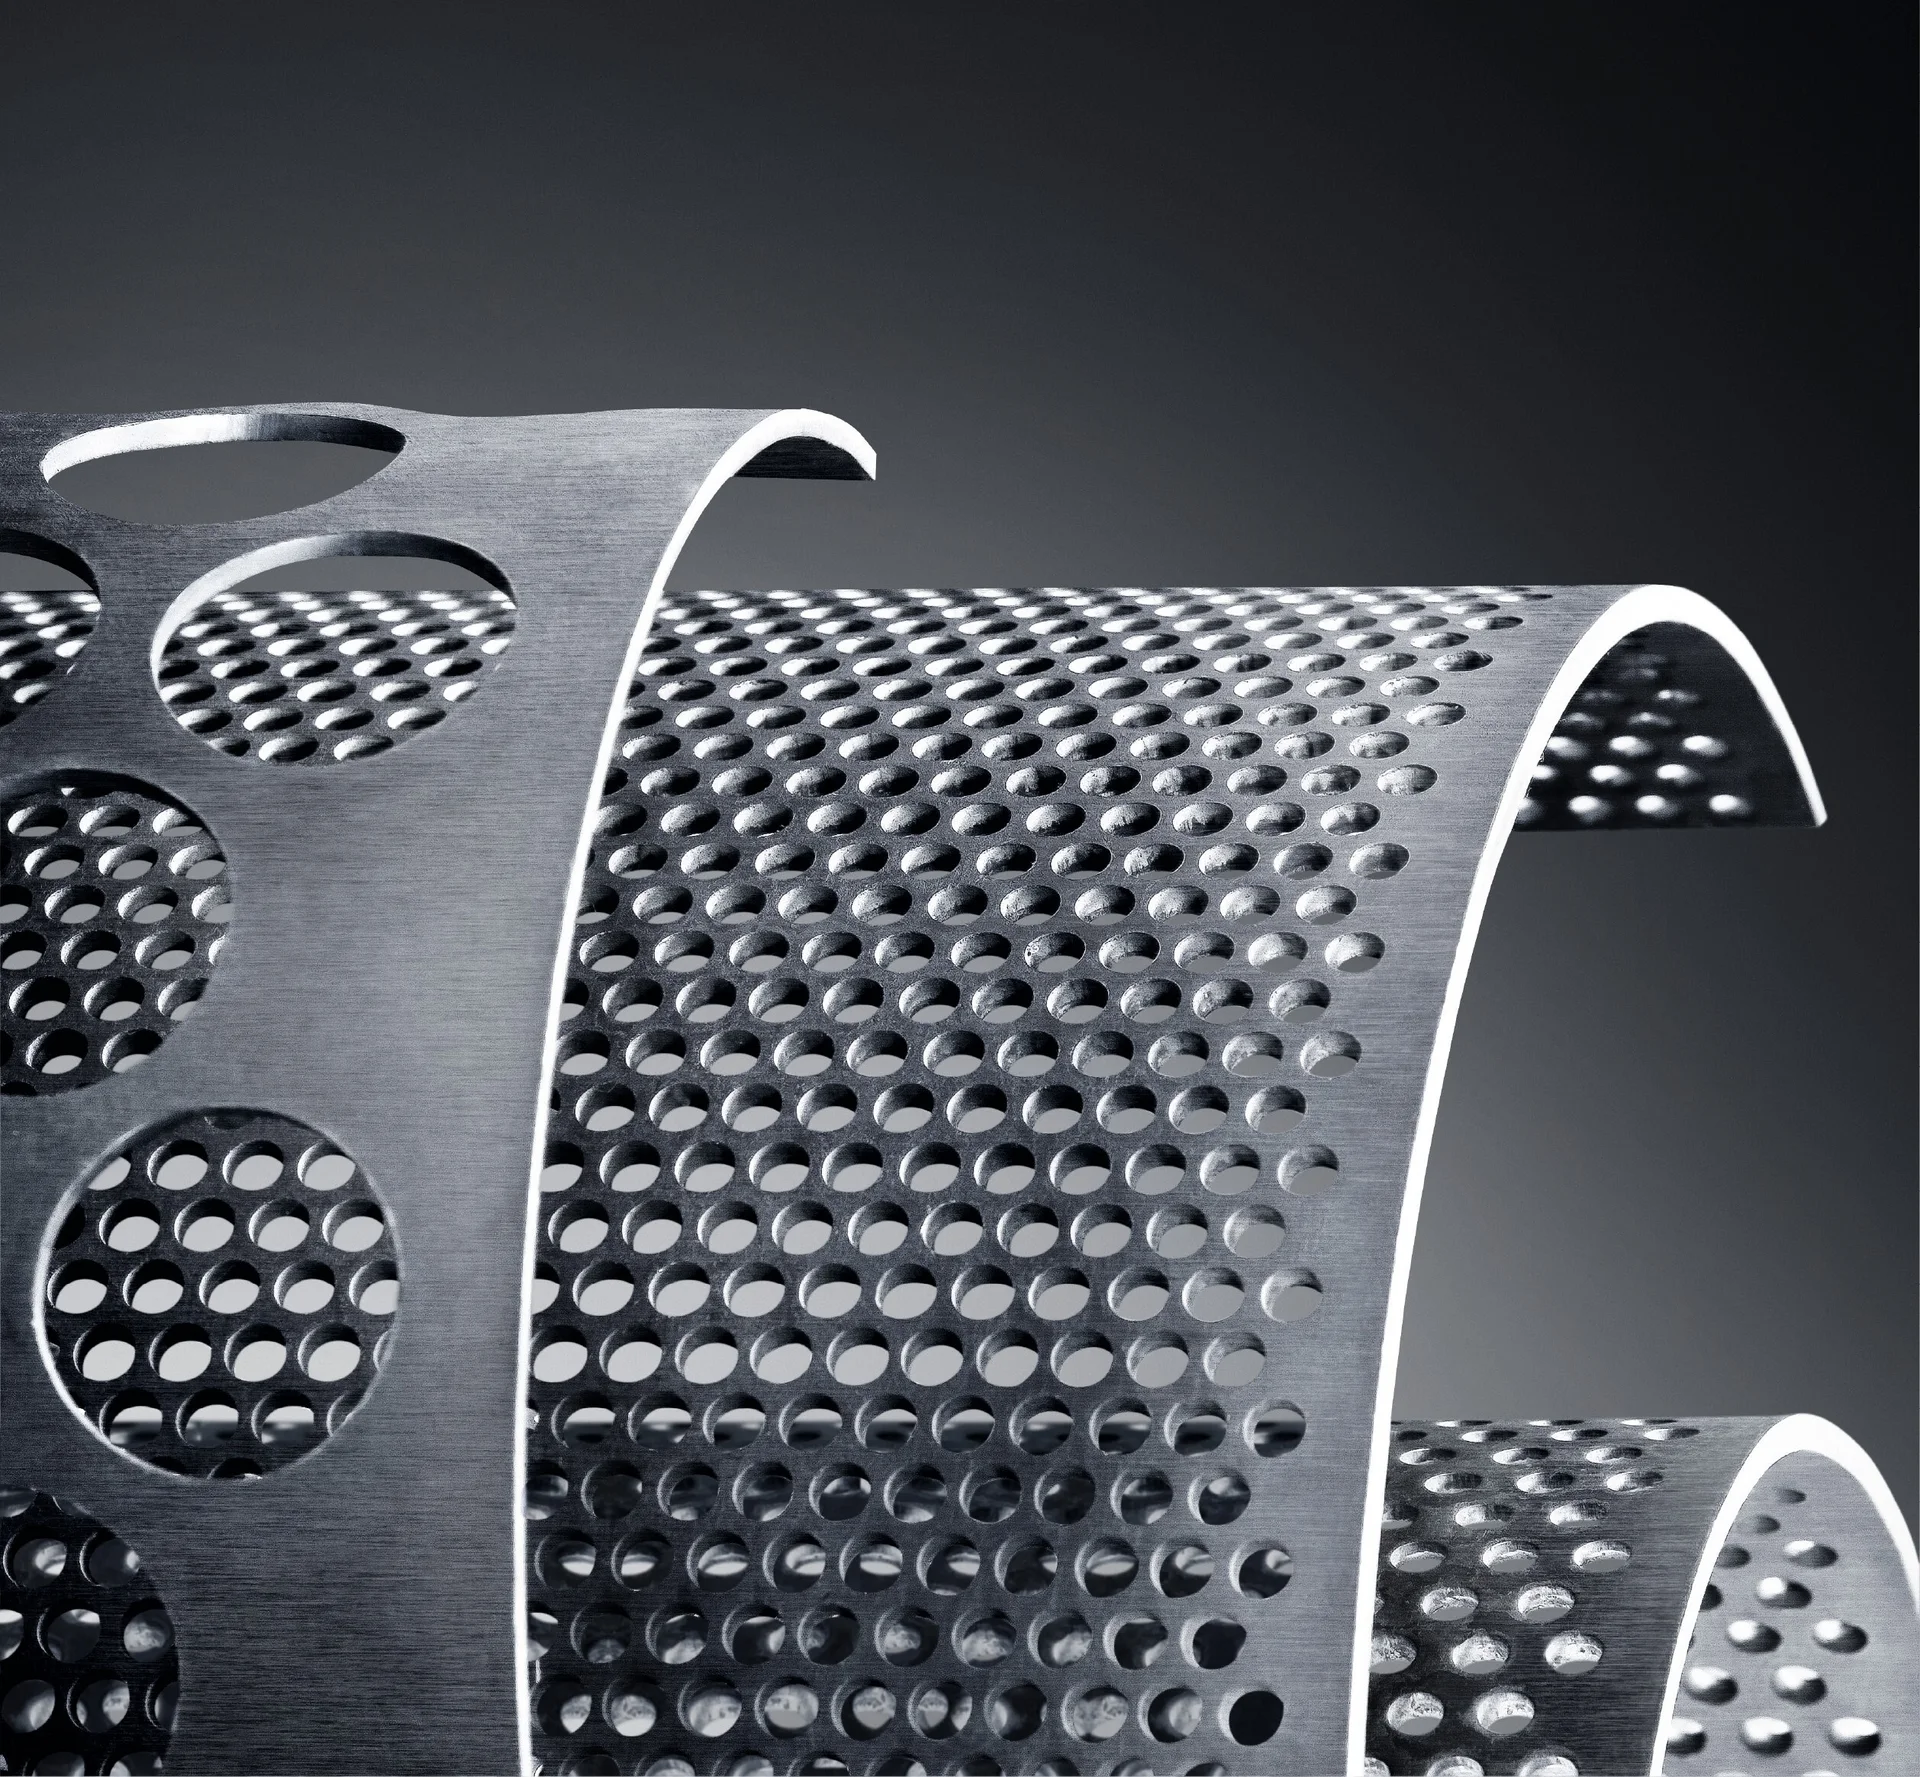
Screen fitted correctly. Confirm the right screen for your target flake size is seated and secured.
Rotate by hand. Where the manual allows, bar the rotor over by hand to confirm nothing contacts before power is applied.
Metal separation ready. If your feedstock carries tramp metal, confirm detection and separation are in place before the first load.
Dry run empty. Start the machine with no material and confirm smooth running, correct rotation, and no unusual noise or vibration.
Feed light at first. Start with small, clean, known material. Do not open with the hardest or bulkiest thing you own.
Watch power draw and temperature. Note baseline amperage and let bearings and drive reach normal operating temperature under light load.
Re-check fasteners after break-in. After the first hours, re-torque knife and key fasteners; things settle under initial load.
Record the baseline. Log normal amperage, sound, and output. Every future diagnosis compares against this first-day baseline.
Why the break-in matters
New machines settle. Fasteners seat, drives find their operating temperature, and cutting components bed in. Feeding a brand-new machine its heaviest feedstock at full rate on the first hour is how you turn normal settling into a loosened knife or a stressed bearing. A gentle break-in with clean, light material, followed by a re-torque of key fasteners, is the cheapest insurance you will ever buy on the machine.
It is also when you capture the single most useful maintenance artifact: the baseline. The normal amperage, sound, and regrind quality on a healthy day are what you will measure everything against later. A machine drawing more power than its baseline, or sounding different, is telling you something is wrong long before it fails, but only if you wrote down what normal was.
Set up the parts and support before you need them
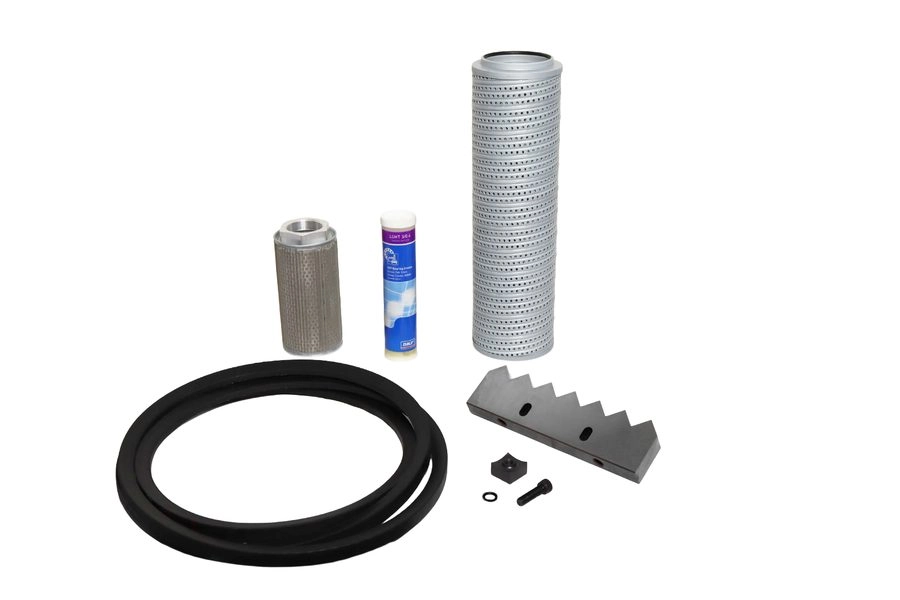
The last piece of good commissioning is boring and important: know how you will get wear parts and support before a knife dulls or a screen needs changing. Genuine spare knives and screens on the shelf turn a service event into a scheduled hour instead of a scramble.
User Manuals
Model-specific manuals with the torque values, clearances, and sequences your machine needs at commissioning.
Genuine Spare Parts
Knives, screens, and wear parts on hand so the first service is scheduled, not a scramble.
Accessories & Separation
Metal separation, blowers, and conveying to line up before the first load runs.
Service Support
Reach the ZERMA America team for commissioning questions; bilingual service support is available.
Get the first day right
Order machines, genuine spare knives, and screens through Virtus Equipment Direct, our online store serving ZERMA America customers.
Frequently asked questions
What should I check first on a brand-new machine?
Safety systems, before any material. Test every emergency stop and confirm it cuts power to the rotor, verify interlocked guards and hoppers stop the machine when opened, and confirm overload protection works. Then verify level mounting, correct electrical supply, and rotation direction before the first load.
Do I really need a break-in period?
Yes. New machines settle: fasteners seat, drives reach operating temperature, and cutting components bed in. Feeding heavy or bulky material at full rate in the first hour turns normal settling into loosened knives or stressed bearings. Start light and clean, then re-torque key fasteners after the first hours.
Why record a baseline at startup?
Because every future diagnosis compares against it. Logging normal amperage, sound, and regrind quality on a healthy first day gives you the reference that later tells you a machine is drawing too much power or sounding wrong, warning signs that appear well before a failure but only if you know what normal looked like.
Should I have spare parts before I start?
It is the smart move. Knives dull and screens need changing eventually, and having genuine spares on the shelf turns that into a scheduled hour rather than an emergency. Setting up your parts and support channel during commissioning, not after the first failure, avoids unplanned downtime.